The procedure totally dismantles the unit, but you only need to dismantle as much as is necessary to access those parts you wish to work on.
This information is provided in good faith, but as I have no idea of your skill levels it is assumed you know what you are doing and that you work on your power adaptor at your own risk.
Be aware that opening the case and/or making changes or attempting repairs to this unit will invalidate any warranty on your unit and may also preclude any future chance of Hornby being able to repair or even update the unit. This also applies to any unit bought second hand, whether working or not, as the previous owner may have opened the case or attempted repairs.
This unit is available for use on USA/Canada 110VAC power supplies as part P9303W. This unit is easily found in Scalextric shops in USA/Canada.
Warning:
This device contains components at 240VAC UK mains voltage, which is a lethal potential.
Making alterations or repairs to UK mains operated equipment must be carried out by a competent person as defined by the Law.
Other countries may have similar legislation -
Opening this unit is at your own risk.
Dismantling:
Undo the 4 x security screws found under the 4 x rubber foot pads. Some units may have normal cross point screws.
Lift the top case off.
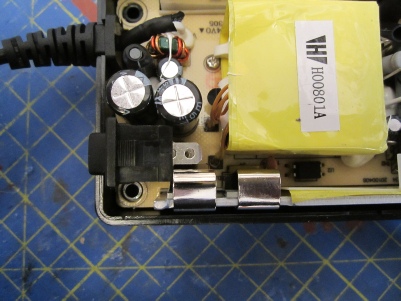
The inside of these units has changed slightly over the years but the basic components remain-
Remove all screws from the heat sink and the component parts can be separated if desired to provide better access to the cable connections and the transformer.
There are very few user serviceable parts within this unit and the teardown procedure is purely for information.
Modification:
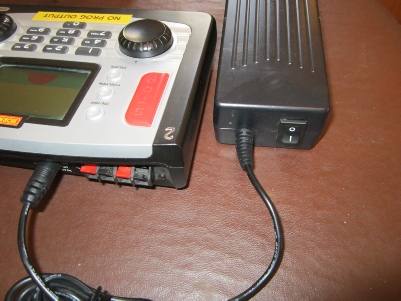
As neither the Elite controller nor this unit has an On/Off switch I looked at incorporating one, but found that there is insufficient room to mount a switch on the mains side off the case, however I could insert a switch into the DC output side instead. Not ideal as it means that when switched off the mains side is still powered up, but it is better than nothing as it makes switching the unit On/Off for things like the Elite DCC controller firmware updates more convenient.
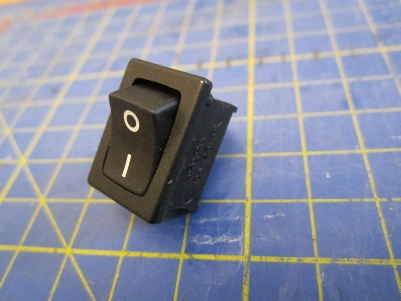
The switch is a standard miniature mains rocker switch seen on a variety of mains equipment -
Position of switch prior to fixed location slot being cut in the case halves.
Switch installed -
The actual modification is very easy. Cut a slot for the switch in each half case, disconnect one of the DC output wires, then wiring this freed terminal to one side of the switch and wiring the other side of the switch back to the freed output cable. Ensure everything is well insulated and reassemble the case.
Although this modification is to the DC side of the unit any work should be checked and certified in accordance with local laws.
This report is Work in Progress to provide more pictures of the actual unit teardown.
Acknowledgments:
Many thanks to Ken Wards in the Hornby Research and Development Department for his help in compiling this article.
RH/PSU/Oct2017/v1.0
ROB’S RAILS -
Hornby P9300W Power Adaptor
This report details the procedural teardown of a Hornby 4 Amp Power Adaptor.
© Rob’s Rails 2019